Sunday, December 23, 2012

 Completed Brotform compared to one ordered from Birnbaum (pale one). I made mine from red cane.
 My oval brotform was way too large. I made it from looking at pictures on the net.
 Another view
 Another view
 yet another view
 Completed Brotform
 Cane is nailed after bending in the heat of a heat-gun
The cane is soaked in water for a day to make them pliable.

Brotforms

I get occasional email queries from fellow bakers about the ring patterns in some of my bread. In the early days of my bread making adventures, I too, had wondered where those patterns came from. I found out eventually that they came off special proofing baskets called Brotforms.

Back then, it was not possible to find them in Singapore so I tried making my own. The pictures above were salvaged from an old blog which I fear will shut down one day and the postings there will vaporise. This posting was promted by a query that I had read in my favorite bread forum The Fresh Loaf. It stirred back fond memories of the fun I had while making my own Brotforms. I hope it will help fellow bakers gung-ho enough to make their own.

Brotforms can also be ordered online from
http://www.herbert-birnbaum.de/Herbert-Birnbaum/brotformen.html

The link to my original posting in Angelfire
http://www.angelfire.com/planet/tomsbread/Brotforms.htm


Sunday, December 02, 2012


Foccacia with Laksa pesto

A busy weekend with baking on Saturday and Sunday. I promised my favorite Durian seller with something Italian. I have been on a Durian binge this season and a whole month of Durian kaya is surely enough for anyone, even for a hard-core Durian lover like myself. Who else will have Musang King Durian for afternoon tea?

This foccacia is modelled after Dan Lepard's which calls for the addition of some levain. As I have lost my recipe for the Laksa pesto, I had to wing it. The ingredients included Laksa leaves, 7 bulbs of roasted garlic, Parmesan cheese, toasted walnuts as I did not have pine nuts on hand. The pesto was seasoned with sea salt. ground black pepper and a dash of lemon juice. All were added by feel assisted by the tongue.

Sunday, November 25, 2012

 Propolis honey from Trigona Stingless bees
Breakfast in  Bentong en-route to Raub - Coffee on brazier inside a quaint coffee shop
 Mao Shan Wang(Musang King) durian - So close and yet so far


 The durian plantation in Raub
 Young Musang King
 Trigona Stingless beehive
Sucking Propolis honey off the hive

Visit to Raub durian plantation

I came across these photos taken in May when I was in Kuala Lumpur to learn guitar making. This stirred up wonderful memories of the fantastic 2 weeks I spent up north. During a week end break, my host brought me to a durian plantation but unfortunately, the durians were still too young. They say that Musang King durians from Bentong/Raub area are the best in Malaysia. I was very, very disappointed that I was not able to feast on those beauties hanging from the branches. That is why I have been making up for lost opportunity now that the Musang King season is here now. It helps that I know a friendly durian seller near my work place. I was able to sate my insatiable appetite for the King of the King of Fruits.

We made a stop over in Bentong. I knew that this was a hot bed of CPM activities in the 50s/60s. I felt that I was transported into a time warp. The coffee shop still had coffee on a charcoal brazier. How rustic can it get.

When I was at the durian plantation, I learnt about tropical stingless Trigona bees and their miraculous Propolis honey. In the wild, they make their hives in hollow tree trunks. The enterprising bee-keepers cut the nest off the tree and placed boxes on the trunk. The bees will expand their hive in any hollow space. They seal the hive with bee resin called Propolis which has many medicinal properties. It is a natural antibiotic, antifungal agent. I had the opportunity to suck the Propolis honey off the hive.


Hybrid

Although the Tartine country loaf is a very nice bread, the only problem with it is that it requires the baker to be at home the whole day. The three hour bulk fermentation with stretch and folds every 30 minute and the final proof of 2-3 hours leaves you stranded at home.

To overcome this little problem especially for those who have to go out and make a living, I came up with a work-around so that I can still bake something similar when I get home from work.

This bread uses a ripe starter as flavoring agent but uses commercial yeast to boost leavening. Nothing original about this as many people do that(and get flamed by sourdough purists). In the morning before work, I feed the starter with 100g of flour and water. This will yield 200g of ripe starter when I return from work. I usually feed my culture with whole-wheat flour. This will form the 10% whole-wheat component called for in the Tartine recipe.

The main dough is just 900g of type 55 flour. As the starter is100% hydration, the amount of water to be added is 650g. This makes it a 75% hydration bread. The formula calls for 2 teaspoons of dry instant yeast and 3 teaspoons of sea salt. Oil is optional but recently I am starting to favor adding some oil into the dough. This helps to mitigate crust deterioration in the tropics where I live. Without the oil, the crunchy crust deteriorates into elephant hide. With the oil, the toughness is reduced. Of course all these problems can be eliminated with a bit of refreshing in the oven before consumption.

With the aid of the commercial yeast, the bulk fermentation is just 2 hours. The final proof is 1 hour. In this way, the bread can be completed in the evening when I am at home. The baking is done in a dutch oven for best results. The result is very similar to the Tartine country bread.

Sunday, November 18, 2012


Finally looking like the Tartine Country Loaf

I decided to give the Tartine one more shot and it turned out very well. Not so for the 100% WW loaves which had to wait for their turn in the oven. They were slightly over-proofed by the time I loaded them in . I did the two loaves to see how the Tartine process work with 100%WW since I have plenty of the flour on hand. Having done them, I can see that with proper proofing times, they should turn out equally well. That's a project that I will do in the near future.

Since the cast iron pot worked well, I took out another, clay pot which I got from IKEA years ago to try. It worked equally well. I got beautifully opened ears this time round and my wife took out the Tartine book to compare after I told her about the results of the bake.

One loaf will be going to my favorite Durian seller who sold me 3 enormous Musang King Durians at an incredibly low price.

Friday, November 16, 2012


Starting to look like Tartine

The weekend is here. I was waiting for the weekend to come to try out the dutch oven method advocated in Chad Robertson's book. I took out the sourdough culture from the fridge to feed it on Thursday. On Friday evening, I fed it one more time. As I will be using 200g of the 100% hydration starter, I fed the culture in that proportion.

By Saturday morning, it had nicely more than doubled. The recipe called for 900g of White flour and 100g of Wholewheat flour. Chad's baker's percentage uses the European method. This has created a bit of controversy in The Fresh Loaf forum with people criticizing him for making such a fundamental 'mistake'.

The US method of baker's percentages is based strictly on the TOTAL amount of flour that will be used in the dough, including the starter. The European method computes the starter as a separate ingredient, the amount of which is stated as a percentage of the flour used in the main dough. It is simply a matter of definition and the difference is purely cultural.

After the 3 hour Stretch and Fold thing, the dough was doubled and bubbly. Since my cast iron pot is oval in shape, I shaped the loaf as a batard. The other was shaped as a boule and baked free-form. I got much better results today. My only regret was in over-flouring the cloth. The loaf from the pot had volume and a nice ear. The boule turned out not too badly also.

When I cut the bread, I was quite happy with the crumb. I buttered a small piece for my wife to try and she remarked that it had excellent flavor. What more can I ask for.


Sunday, November 11, 2012

Tartine


My attempt at the Tartine loaf was not successful. Athough the bread was very delicious, it did not resemble the original Tartine bread in any way. The process was the same although the ambient temperature may be slightly different. I used a flour quite similar to T55 but as I had run out of WW flour, I make do with some Atta that I had on hand. This Atta had more of the bran sifted out so it looked almost like white flour. However, the main difference was the method of baking.

The method recommended by Chad was to bake the bread in a Dutch oven and perhaps I will try that in my next attempt. Meanwhile I console myself with my version of the ultimate Kaya Toast, made with homemade Tartine sourdough bread, homemade kaya, chunks of French Normandy butter and home-roasted Sulawesi Toroja coffee.

Sunday, November 04, 2012

Kaya


Ingredients
Coconut milk 100%
Palm Sugar    33-50% depending on your sweet tooth. (Gula Melaka is fine but I find it too overpowering so less is more. A mix of Gula Melaka and plain sugar might work well)
Egg yolks       50 %
Pandan leaves to flavor
Dash of sea salt
Method.
1. Caramelise the palm sugar in a heavy bottom pot together with the Pandan leaves. This will infuse the sugar with the Pandan flavor.
2. Add the coconut milk and stir.
3. Stir until all the sugar has been dissolved.
4. Remove the Pandan leaves.
5. Spoon the coconut-sugar mixture into the eggs slowly and stir.
6. When half of the coconut milk-sugar has been added, add the Sugar-milk-eggs mixture back into the remaining coconut-sugar mixture.
7. Heat the Kaya mixture in a double boiler, stirring continuously.
8. Stop when the mixture has thicken.


Making Kaya is not difficult. However, some precautions must be taken to make it successfully. Kaya is a form of custard and to make a smooth custard, the eggs must be tempered. Otherwise, adding the eggs to the hot coconut milk-sugar mixture will scramble the eggs. Personally, I prefer some whites with the egg yolks as this will give the kaya some texture. With less whites, the kaya is too smooth and is more like a paste. The mixture is best cooked in a double boiler as excessive heat will transform the proteins into a tight ball. This is the classic sandy texture of Kaya Fail. Using a blender to rectify coarse Kaya texture is also Kaya Fail in my opinion.

For my bake this week, I tried out a new malt bought by my wife. The smell of the bread was good when it came out of the oven and I am looking forward to tea time for my kaya toast.


Thursday, October 18, 2012


Basic White Loaf

This is my staple white loaf which I enjoy with butter and perhaps jam or kaya. I used to make bread using 2kg of flour. Nowadays, I find it more practical to just use a kg pack of flour for my bakes. I am in the process of teaching my wife to bake bread. I made up this simple recipe which is easy to remember and I don't even have to take out my weighing scales anymore.

INGREDIENTS (Makes 2 large loaves, scale accordingly to make one loaf)
1 kg flour
2 teaspoons yeast
3 teaspoons salt
4 teaspoons malt powder(optional)
5 teaspoons oil.
700 g ice water

METHOD

1. Add flour into large mixing bowl
2. Add yeast
3. Add salt
4. Mix dry ingredients thoroughly with wooden spoon
5. Dissolve malt powder into water
6. Add water into the mixing bowl
7. Add oil into the water
8. Stir until a rough dough is formed making sure all the dry ingredients have been incorporated.
9. Leave aside for at least 30 mins (Autolyse stage)
10. After the autolyse, stretch and fold the dough once (either on the bench or do it when the dough is in the proofing box.
11. Scrape the dough into a plastic bin. (You can do the first stretch and fold here if you did not do it on a worktop)
12. Cover with plastic sheet. (This is important to keep the dough surface from drying out. If you are not sqeamish about cling wrap contacting the dough, you can lay it directly over the dough. Otherwise, just seal the box in cling wrap or use a large plastic bag to seal the entire box in the bag.
13. Leave in fridge overnight or around 12 hours (flexible depending on how flavorful you want the bread to be).
14. After 12 hours, scrape the dough onto a well floured work top. Stretch the dough with the help of a bench scraper and pull the dough in east-west direction. Fold the dough one-third and the same with the other end. Now stretch it north-south and do the same folding over. You should get roughly a ball shape. Leave it on the bench and cover with a plastic sheet.
15. After 45-60 mins bench rest, divide the dough into 2 parts.
16. Shape into a ball and place it seam side up in a well floured cloth lined basket.
17. Final proof for around 1 hour.
18. When the dough is proofing, preheat the oven to 225C.
19, After proofing, place a piece of parchment paper over the dough and place a peel over the paper. Hold the basket and the peel and flip over. The dough will now sit on the parchment. Remove the basket and the cloth. Slash the dough and transfer the dough onto the baking stone.
19. Cover the dough with a wok cover. ( I use a very flimsy whole aluminum wok cover found in a neighborhood store. You can do your regular method for getting steam in the oven but the cover will also help to trap steam from the dough itself)
20. After 15 mins. remove the cover and reduce the temp to 200C. Bake without the cover for another 30 min at 200C.


Tuesday, May 22, 2012

2 week guitar making course with Jeffrey Yong, Luthier Extraordinaire

I spent the last two weeks with Jeff learning how to construct an Acoustic Guitar. Jeff's guitars can only be described as exquisite. Not only are they works of art, but more importantly, they sound incredible. In fact, at the 2006 Guild of American Luthiers' Convention, two of Jeff's guitars were among the final top three guitars from among more than 50 guitars in contention. Jeff's original creation of a Monkeypod OM Acoustic Guitar was judged as the best sounding guitar in terms of tonality, timbre and sustain. This accolade was conferred by all the luthiers present at the convention. The other guitar was placed third.

Jeff is instrumental in introducing Monkeypod wood for musical instrument making. For us who are located in Singapore, it is more commonly known as a Rain Tree. I was very happy to bring back an incredible sounding instrument in the short span of two weeks.

The guitar in crocodile leather bound case.
 Ebony rosette and saddle with brass pins. Beautiful grain of the soundboard.
 Details of the 12th fret inlay with leaf motif from Jeff's Autumn leaves collection.
 Details of the headstock.
 Details of the ebony cutaway desigh which allows access to the lower frets and enhances the aesthetics of the guitar.
 Details of the back of the ebony headstock fascia with Gotoh 510 tuners. The neck is a 7 piece neck with ebony spine which is very rigid.

 Details of side port.
  Beautiful grain of the Monkeypod wood which is like Hawaiian Koa.
 Details of the ebony armrest. It is both beautiful and functional. The bevel makes it very comfortable to play the guitar. The larger lower bout and the classical guitar upper bout makes the body very elegant. I can only say it looks as if inspired by God's creation of Eve. The larger lower bout makes playing very comfortable and supports the upper arm even without the aid of a footstool.


The construction

It all started with the selection of the wood for the construction of the guitar.

1.Preparing the back for gluing.
2. Preparing for the soundboard for gluing
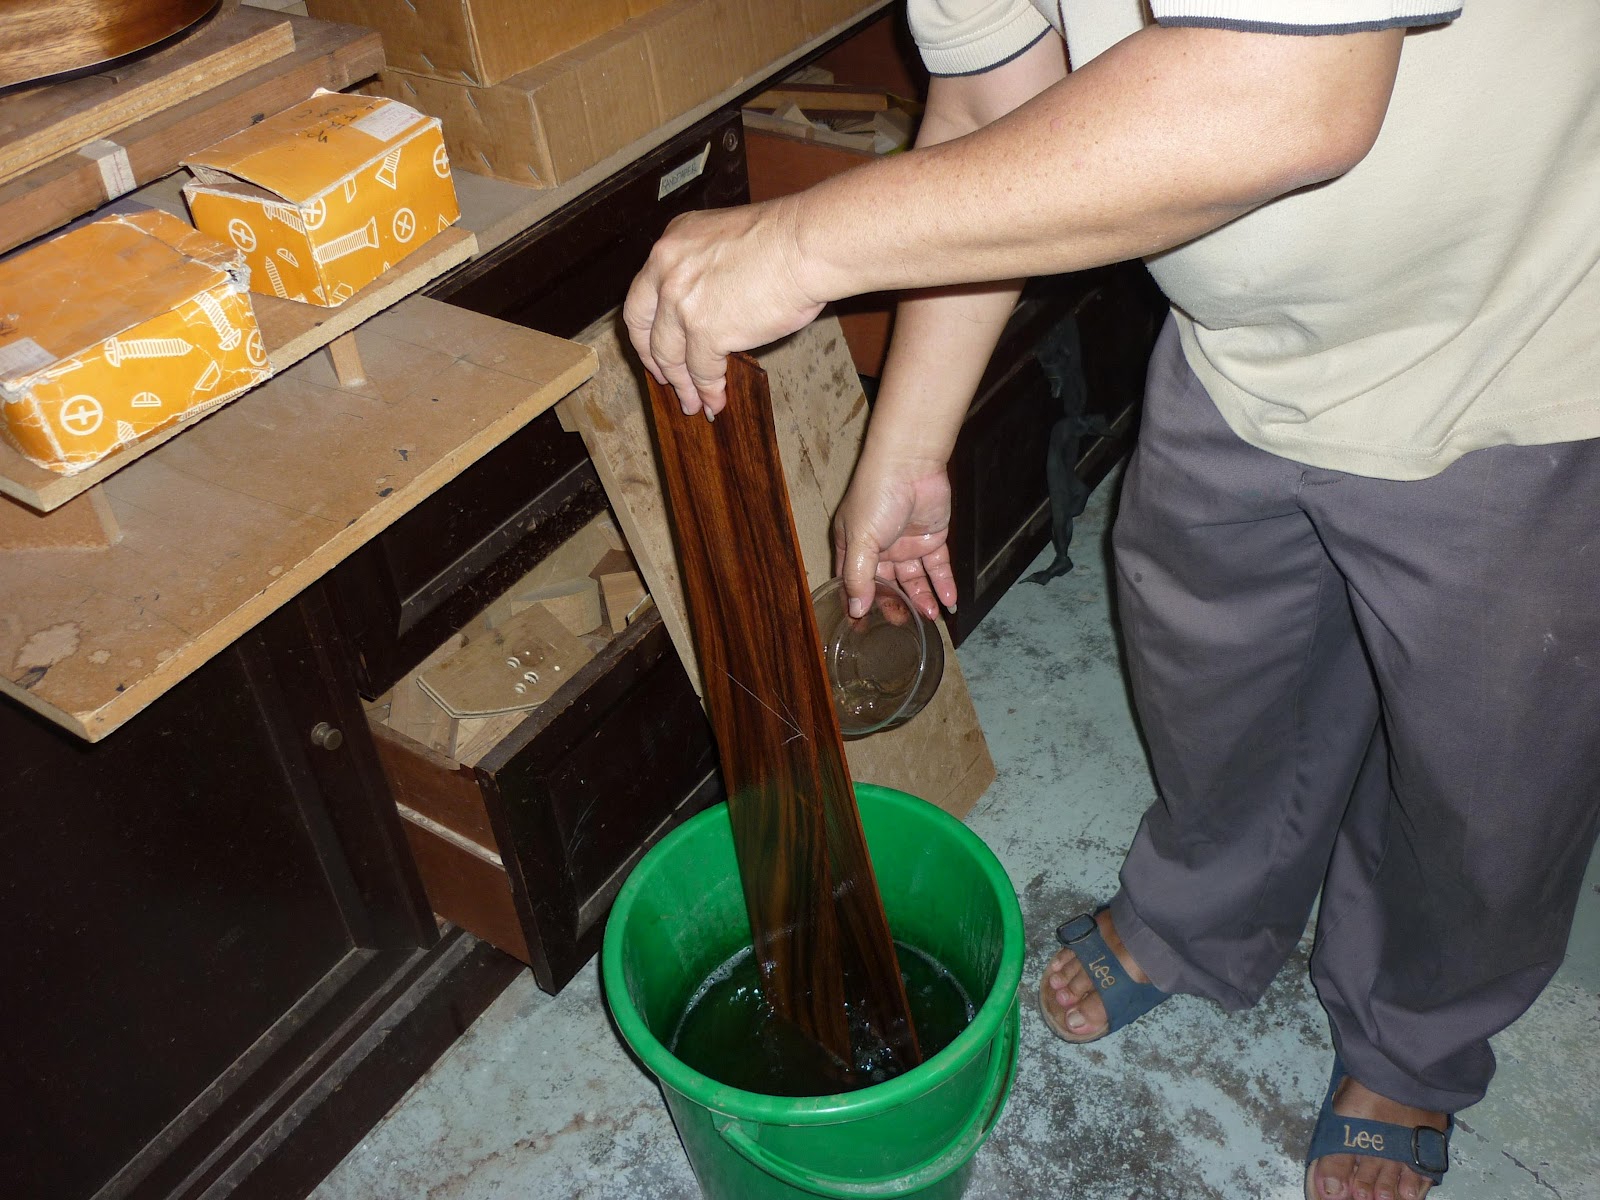
3. Preparing the sides for bending.

4. Bending the sides
5. Fitting the sides into the form
5.Gluing the heel.


6. Gluing the end block

7. The Master showing me how routing is done in preparation for the fretboard inlay.
8. Designing the inlay for the fretboard
9. The master making the markings for the back bracing.
  

10. Drilling the holes for the back bracing was challenging. These braces were then glued to the back on a domed surface. 
10. Ebony Rosette glued onto routed sound board.


11. Sound board bracing in progress.


12. Back of guitar glued to sides in the mold.


13.Cutaway and armrest internal details


14.Headstock inlay design. The Master approved of my inclusion of 2 young leaves.
15.Leaf inlay at the 12th fret.

16.Gluing the top to the sides.
17. The Master showing how the armrest is constructed.The construction was very complicated.
18. The Master showing how the cut-away is done.This was another complicated process.
19. Adding the binding was tough at first. Getting the ebony to conform to the contour of the top was challenging. I had to complete the binding after a little demonstration.
 20. Completed ebony armrest.

 21.Completed Tail-piece.
 22. Completed cutaway.
 23. Sound Port routed. This will improve the guitars sound.

24.A slot for the neck is cut into the body.
 25. Shaping the neck.This was nerve wrecking, to say the least.

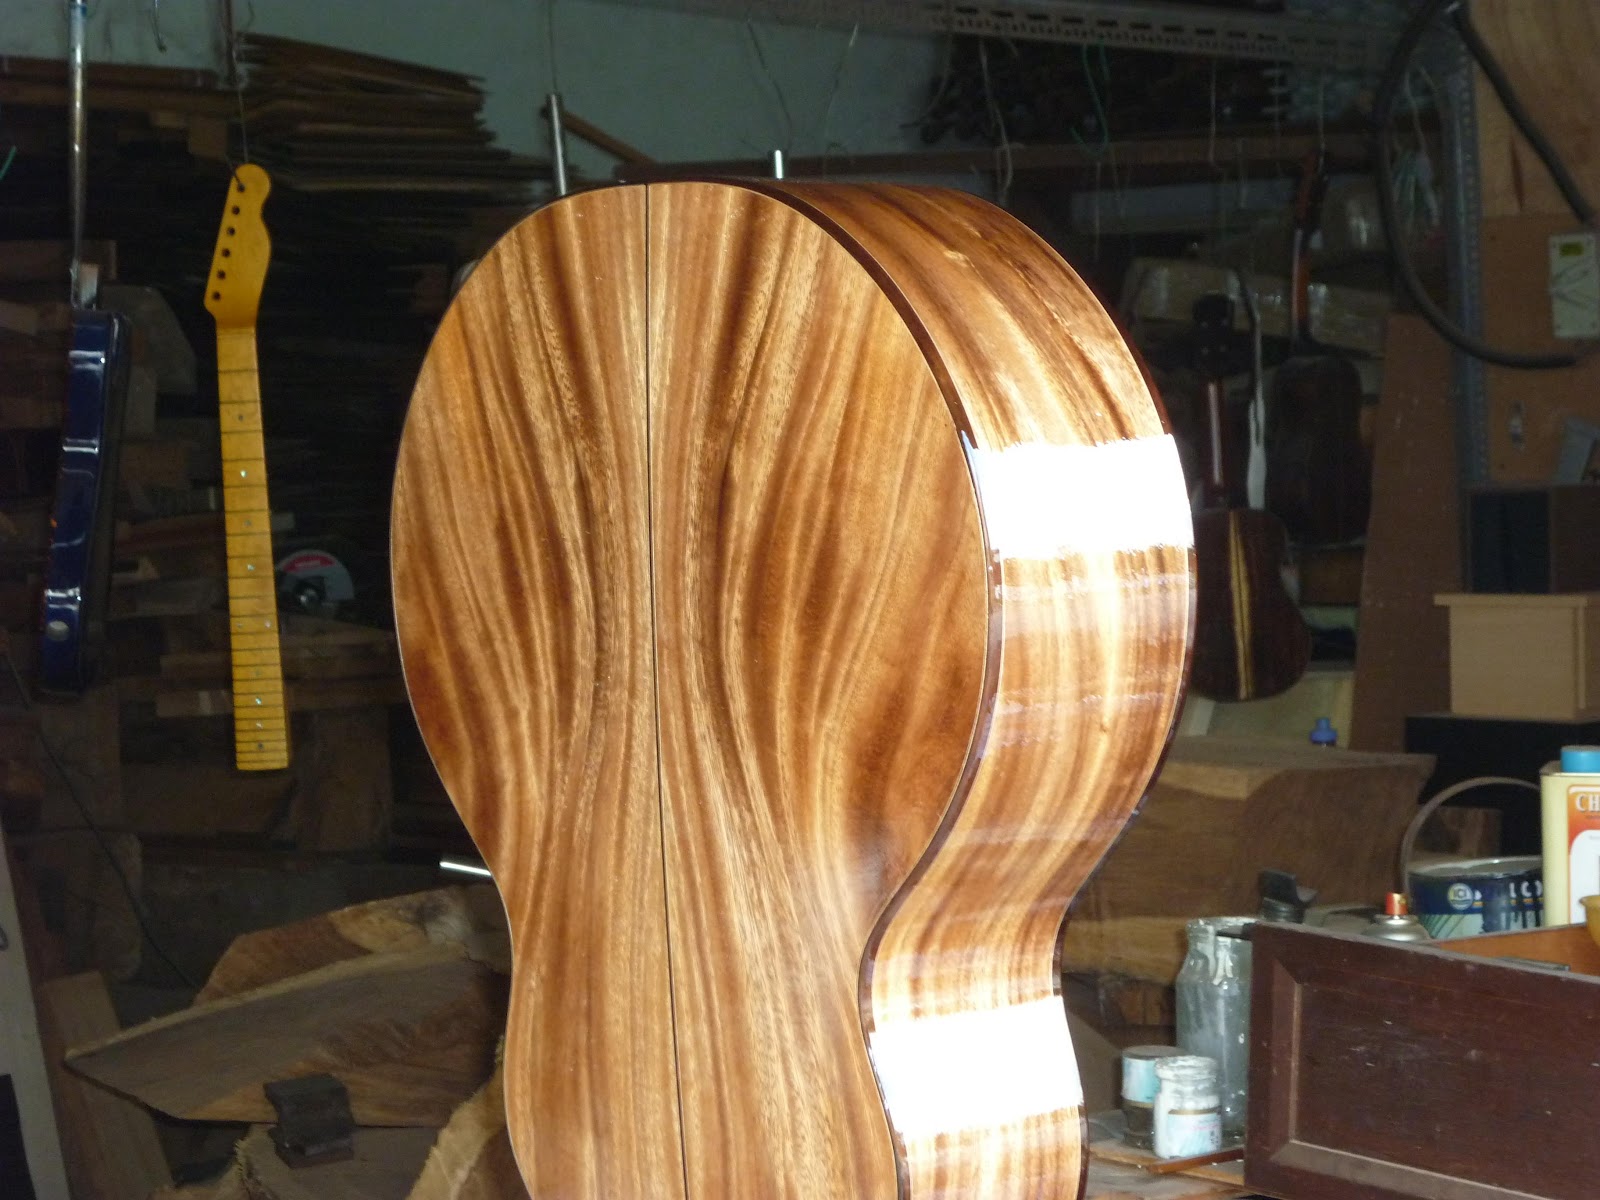
26.The body given a coat of lacquer.This brings out the beautiful grain of the Monkeypod wood.

27. Sanding the lacquer. This was an iterative process of spraying and sanding.


 28.Clamping the saddle onto the guitar.
29.The completed guitar during set-up.
 30. Details of the head stock inlay after spraying.

31. Details of the fret-board inlay after the fretboard was oiled.
 32. The Master demonstrating my guitar to a pair of journalists from Hong Kong.The guitar sounded amazing despite being only a few hours old.

 Staple Walnut Bread 1kg All purpose flour 800g Water 3 tsp salt 3 tsp yeast Bowl of walnuts Makes two large loaves Mix dry ingredients and ...